6 DIY Home Decor Ideas That Actually Stick to Your Budget
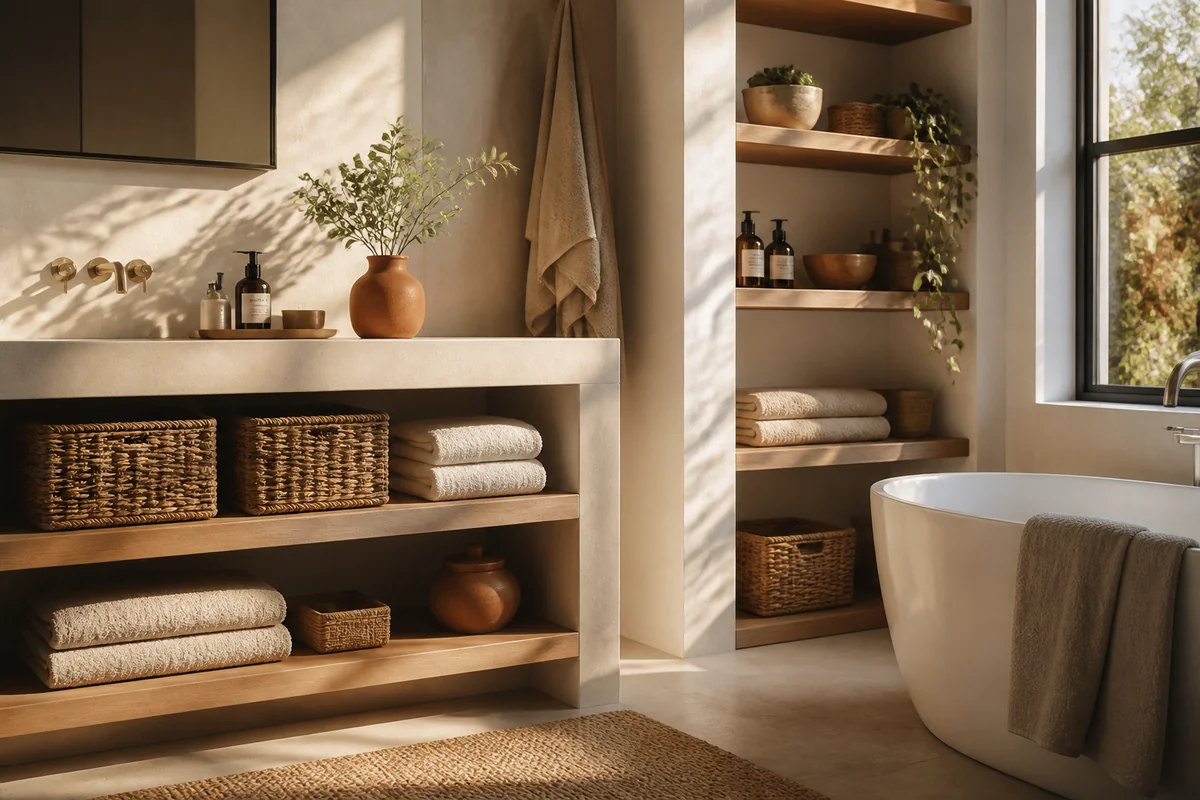
Last spring, I stood in my living room staring at bare white walls and an equally bare bank account. I'd just finished renovating our guest bathroom (let's just say that taught me a hard lesson about contractor quotes), and I had exactly $200 left to make our whole main floor look intentional. Sounds impossible, right? I thought so too. But here's the thing, some of my favorite pieces in our home now came from that exact budget crisis.

That's when I started getting serious about DIY home decor ideas that wouldn't require taking out a second mortgage. What I've discovered over the past three years of blogging is this: the best decor isn't always the most expensive. It's the stuff you actually made yourself, or at least had a hand in creating.
Let me share what's actually worked in my 1970s ranch house, what's tanked spectacularly, and the six ideas that've stuck around because they're affordable, doable, and genuinely beautiful.
1. Paint Old Frames and Fill Them with Meaningful Prints
I'm obsessed with this one because it costs almost nothing and looks intentional.
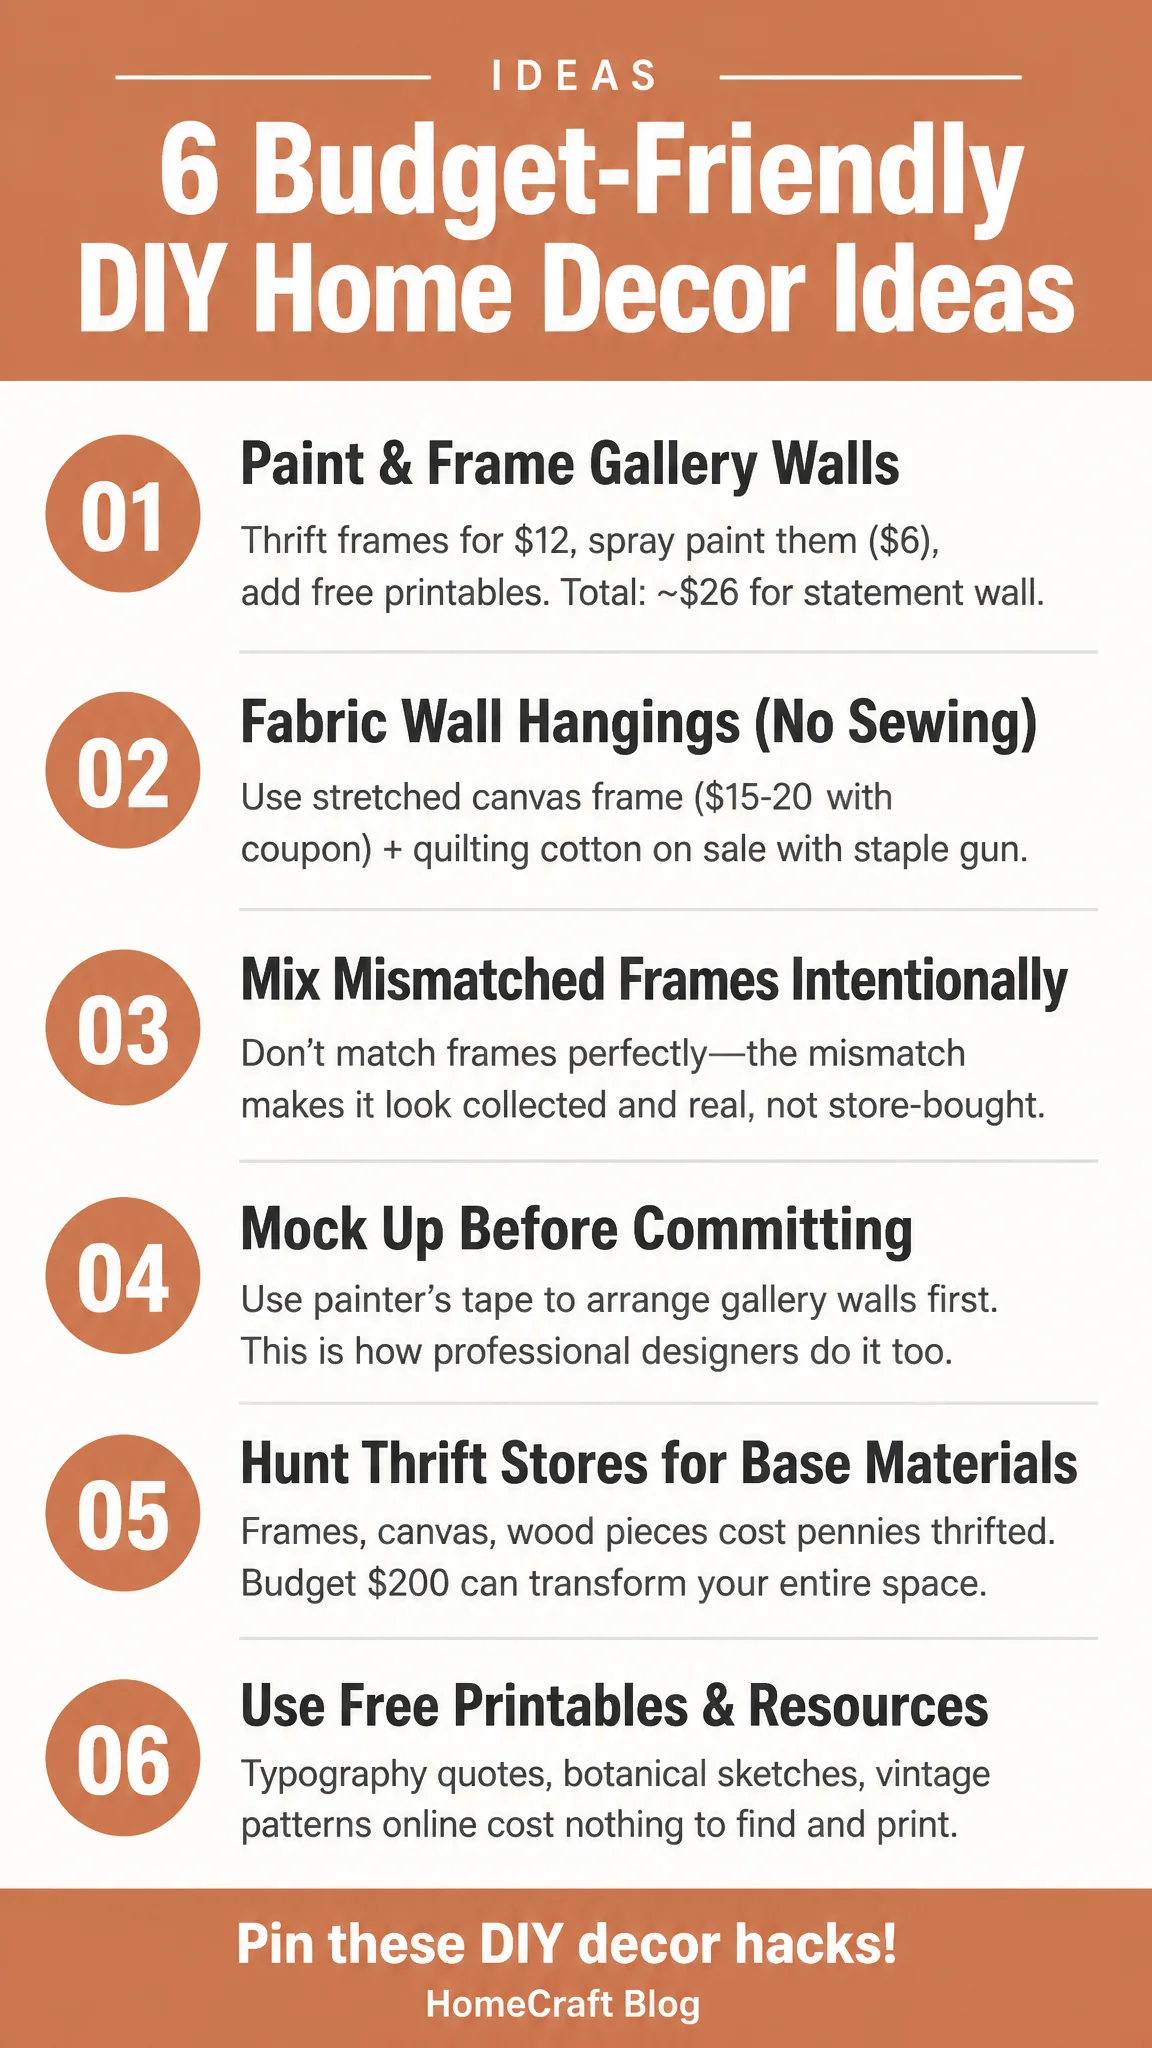
Last October, I grabbed six mismatched frames from a thrift store for $12 total. Some were gold, one was that sad greenish-brown, another was chipped white. I bought a $6 can of matte black spray paint from Home Depot and spent an afternoon in my driveway making them uniform. (Seriously, this changed everything about how cohesive my gallery wall looks.)
Then came the fun part: I found free printables online, typography quotes, botanical sketches, vintage patterns. Printed them at FedEx for maybe $8, cut them to size, and arranged everything on my wall using painter's tape first. Most designers I follow say this is the actual professional move anyway, they mock up gallery walls before committing to nail holes.
The total damage? About $26 for a statement wall that took me three hours over two days.
Here's my concrete tip: don't just grab one style of frame. The mismatch is what makes it feel collected and real, not like you bought it all at once from a big-box store.
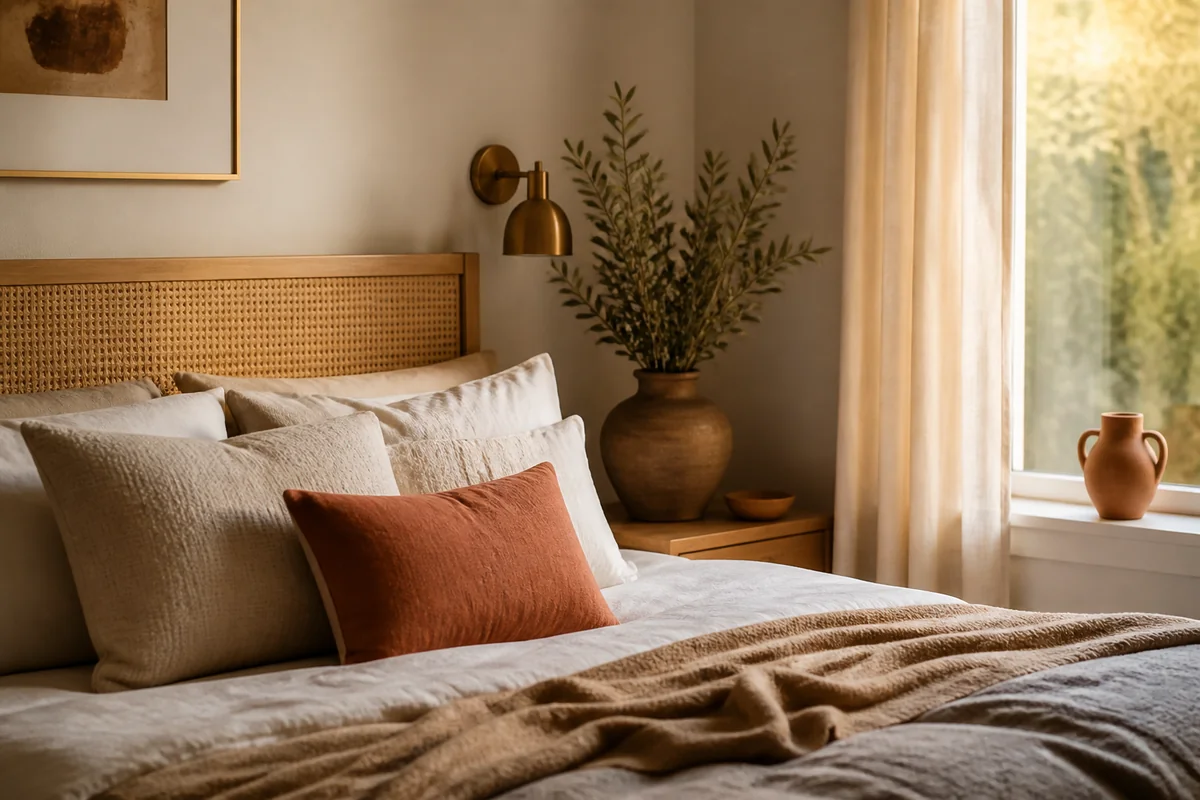
2. DIY Fabric Wall Hanging (No Sewing Required)
My biggest decor mistake ever was assuming I had to be good at sewing. I'm not. I bought a sewing machine in 2019 and it's basically a very expensive decoration now.
But here's what I can do: use a fabric stretcher frame and staple gun. I found this technique on a designer's Instagram, and it's genuinely foolproof.
I picked up a 24x36 stretched canvas frame from Michaels (usually $15-20, but there's always a 40% off coupon if you're smart about timing), then chose a gorgeous quilting cotton from Joann Fabrics that was on sale. The whole project, frame, fabric, plus hardware, came to $28. It hangs above my dresser now and looks like something I'd find at a boutique hotel.
Here's the thing nobody tells you: stretching fabric tight over wood is actually easier than you'd think.
What you do: staple one side, then the opposite side, then the other two. Keep the tension even. That's literally it. Ten minutes, and you've got museum-quality wall art.
3. Thrifted Treasures with Fresh Paint
I'm going to be honest, I've bought some truly tragic pieces from thrift stores. There was the bookshelf that smelled like a wet basement (a smell I still don't understand). There was the nightstand with drawer handles held on by hope and prayers.
But I've also found gold.
That wooden side table in my entryway? Eight dollars. One can of cream chalk paint ($6) and I had something that looks intentional. The wooden ladder leaning against my bedroom wall? Five dollars, sanded down, and stained with a $4 can of walnut stain. It's now my favorite place to drape cozy blankets, and people ask where I bought it constantly.
The secret isn't finding perfect pieces, it's finding pieces with good bones and fixing the surface layer.
Paint covers a multitude of sins. So does refinishing. Spend 20 minutes sanding, an afternoon painting, and you've basically completely changed something's entire vibe. Your thrift store finds go from sad and dated to deliberately rustic or modern, depending on the color you choose.
4. Peel-and-Stick Wallpaper on a Feature Wall
I know, I know. Peel-and-stick feels trendy and temporary. But that's exactly why it's perfect for testing whether you actually like a bold pattern before committing.
I wallpapered my half bath last summer with a botanical print that cost $35 for a 28-square-foot roll. Been there? Wondering if you're brave enough for a pattern on your walls? Start small. A powder room or entryway is way less intimidating than your master bedroom.
Here's my actual step-by-step because application matters:
Clean your wall thoroughly. Seriously, dust, dirt, everything. Then measure and mark your starting point with a pencil (light, you'll erase it). Apply the wallpaper slowly, smoothing out air bubbles as you go. Most rolls come with a squeegee tool or you can use a credit card.
The result looks custom and expensive. The cost was genuinely less than a nice piece of art.
Most designers I follow actually recommend peel-and-stick for renters , which tells you something about its quality level these days.
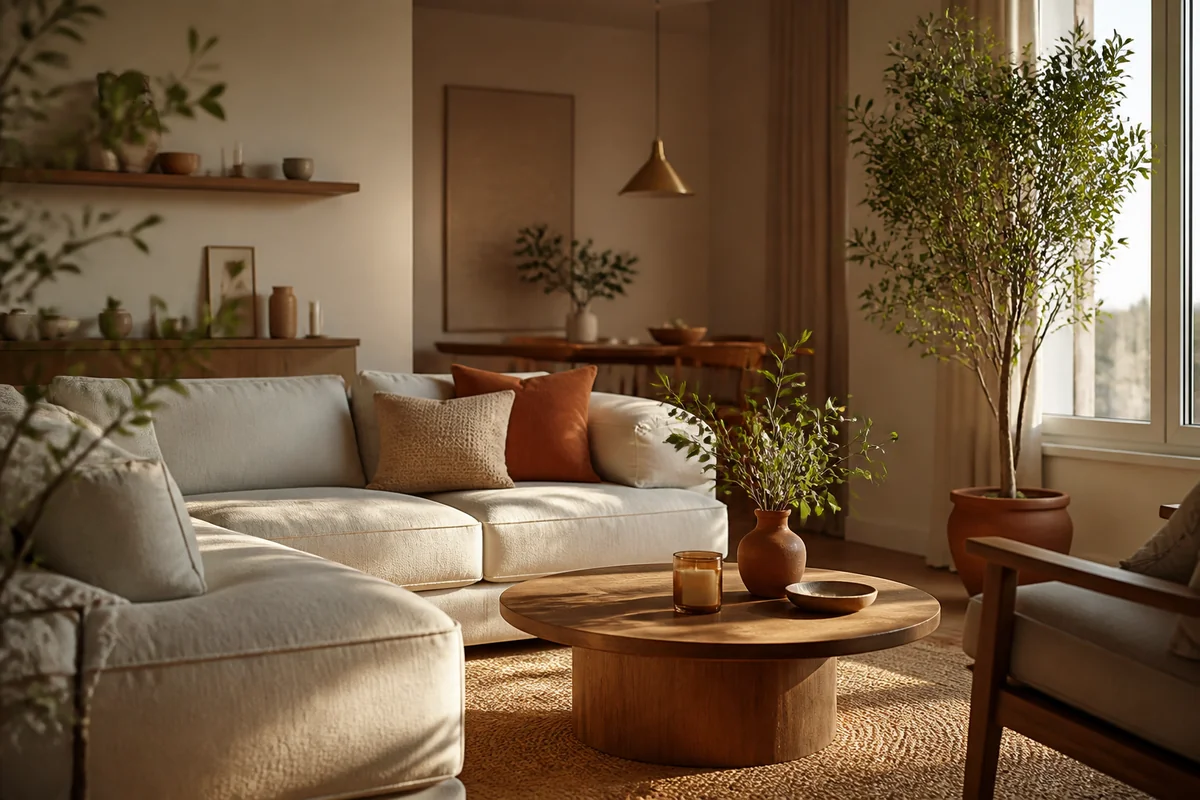
5. Throw Pillows and Textile Layering
Okay, this one's not strictly DIY, but hear me out, I'm including it because I make my own pillowcases.
Last year I grabbed some beautiful linen fabric from an online store (about $12 a yard) and a simple pillow insert ($6). I folded the fabric around the insert, pinned it, and hand-stitched the opening closed. Took maybe 45 minutes total and I made three pillows for under $35.
They look professionally made. They're not.
The textile layering part is where the magic happens, though. You don't need fancy new pillows, you need the right combination of pillows. Mix solid and pattern. Mix textures (linen, cotton, maybe a velvet). Vary the sizes.
I've got five pillows on my couch right now, and they cost maybe $60 combined (mix of thrifted covers I already owned, new inserts, and handmade ones). Textiles are honestly where people's eyes go first. Get that right and suddenly your whole room feels curated.
Save the full guide
6. Create Statement Lighting with Simple Upgrades
This one sounds fancy but it's genuinely not.
I bought a basic brass pendant light fixture from Wayfair ($45) and had an electrician install it in my kitchen for $150. That's not a DIY project, obviously. But before that, I'd spent six months lighting my kitchen with an ugly flush mount from 2003.
The DIY part? I made a custom shade using white linen and a wire frame from Etsy ($12). Attached it with hot glue and small zip ties. It diffuses the light beautifully and cost almost nothing.
You can do this with existing lamps too.
Take a lamp you already own. Grab a fabric you love. Wrap it around the existing shade or replace the shade entirely using fabric and a hot glue gun. Suddenly your sad thrifted lamp is a statement piece. Suddenly your corner of the room feels intentional instead of like something you just accepted as-is.
The truth is, you don't need a massive budget or professional design skills to make your space feel like you. You need curiosity, willingness to try something imperfect, and maybe an afternoon or two to experiment.
Start today with one of these ideas. Pick whichever one makes you excited, that's the one that'll actually get done. Hit up your local thrift store, grab that discounted frame set at Michaels, or pull together pillows you already own and rearrange them intentionally. One small DIY project creates momentum for the next one.
Save this post if you want to come back to it later. Trust me, you will.